Thursday 30 August 2018

Cherish The Memory, Framed Ephemera, Garden Theme...

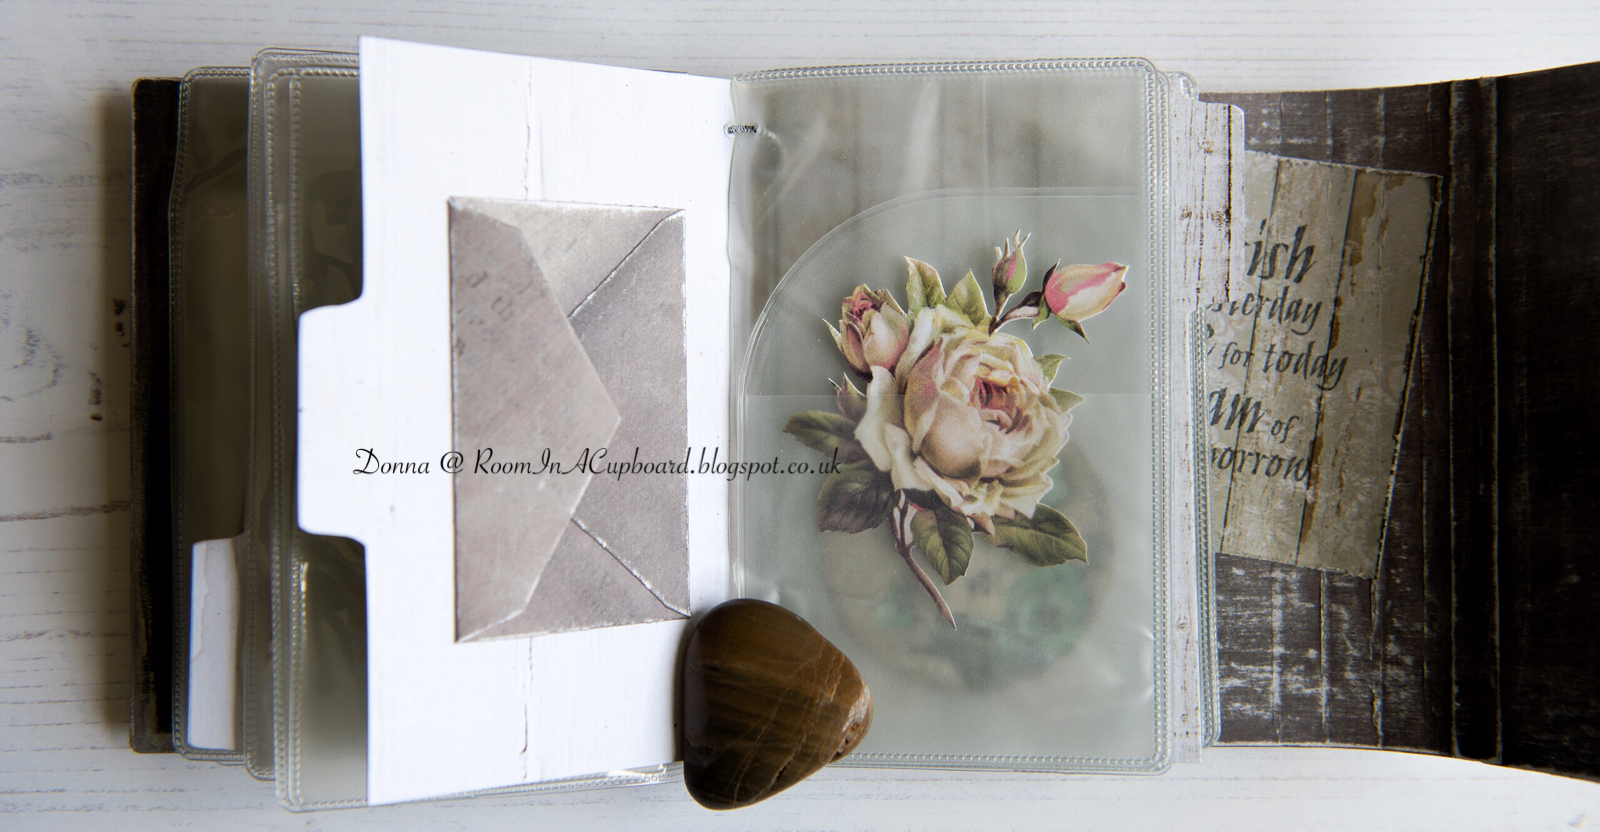
If you stumbled across my last post for Cherish The Memory you will know that I made a Wrapped Journal with a difference as the pages were made from passport protector covers.


Why?

 To help store all of the ephemera that I have in mind for future projects.


As a continuation of that theme (I'm using the same style ephemera, but I've mixed it up a bit with nuts and bolts, etc from another collection) I've created a piece of wall art that I hope captures a sense of 
'being in a garden/a beautiful outdoor space'.


Take a look...


*


Supplies Used...


Lemoncraft


StudioLight


*


Rather than use foam pads, I alter depth and perception on my projects by simply layering up glued die cuts...


...  And if it's a piece of ephemera I want to layer up?

 I cut scraps of card and glue those to the back instead.


*


I hope I've inspired you to get out your stash today!


* 


Donna. x

Wednesday 29 August 2018

Penny Black, Poinsettia Tag, Guest DT 2018

I have the simplest of designs to share with you today as I continue with my Guest DT for 

I say simple as I've kept it minimal.

Why?

 To showcase the beauty of the Poinsettia Stamp and matching Die Set that's part of the 
Penny Black 2018 Christmas release.


Let me show you...


Supplies used:


Penny Black/Stamp

Christmas Poinsettia      40-649


Penny Black/Dies

Xmas Poinsettia Cut Out      51-474
Mitten Stocking      51-465


I have quite simply taken some red textured card stock from my collection and stamped on using (White Shimmer) Delicata Ink.

I've then lined up the Stamp with the matching Die Set and run it through the machine - then cut a second die cut for what will become the back of the tag.

The centre of the flower has been covered using 'Ranger' Texture Paste and the leaves have been inked using Holtz/Distress (Forest Moss).


*


Here's a quick tip on how to assemble the tag...

Cut out three small circles of card and sandwich them together, but before gluing them cut out a small wedge from all three that's just big enough to house the string/hanging twine you intend to hang the tag by.

Now glue the circles together.

Take your back piece of the tag, and making sure that it's the right way up glue the circle to the centre.

 Then add the ends of the twine into the wedge and glue those into place.

Now add the foliage.

And now glue the front of the tag into position.  


This method creates a 'sandwich' that secures the string into position.

It also helps by virtually eliminating the crease mark you might otherwise get from the hanging twine.


*


I will be revisiting this stamp and die combination with a twist in one of my future posts!


Enjoy your day...


*


Donna. x

Thursday 23 August 2018

Penny Black, Robin/Monochrome Berry Branch Tag, Guest DT 2018

This is the second of 12 posts that I will be sharing with you in celebration of the 
Penny Black 2018 Christmas release...

...  and as you can see, Robin takes centre stage on today's Christmas/Winter themed tag.


Here's a breakdown of supplies used:

  
*


Background


Penny Black/Stamps

30-247      Life's Journals 
 40-631      A Berry Branch 
          30-504      Christmas Sentiments

*


Method


Stamp 'Life's Journals' in Stazon - (Timber Brown).   Then, trim card to size.

Once dry...

Use a Stamping Platform and Tsukineko Markers (London Fog, Gray Flannel) to colour, stamp and mist 'A Berry Branch'.   

Leave to dry again, then...

Add the sentiment 'Winter Wishes' using Memento (Tuxedo Black) and emboss using 
Ranger Clear Embossing Powder.

Once dry, use (Hickory Smoke) and (Walnut Stain) from the Tim Holtz/Distress ink pad range to gently create a colour blend.

Then add paint splatters using Tim Holtz/Distress (Peeled Paint).


*


Robin

Penny Black/Stamp

 40-647      Robin's Christmas

*


Method

I used the following list of Tim Holtz/Distress markers to scribble on to an acrylic block and then watercolour with:

Vintage Photo
Walnut Stain
Hickory Smoke
Frayed Burlap
Pumice Stone
Ground Expresso
Aged Mahogany
Brushed Corduroy
Fossilized Amber
Wild Honey
Fired Brick
Spiced Marmalade


Once dry, fussy cut (unless you prefer to do as I did and cut prior to painting).

Then add a black gem for the eye using Ranger 'Glossy Accents' and seal using 
Ranger 'Multi Medium Gloss' or similar.


Glue the Robin into position on the tag, being sure to pen in the feet first!


*


As always, thank you so much for taking the time to stop by today...


*


Donna. x

Wednesday 22 August 2018

Cherish The Memory, Wrapped Journal, Ephemera...

Cherish The Memory sells some of the prettiest ephemera and background papers - just take a look for yourself and you'll soon see what I mean.

And sometimes it's nice to get lots of those pretty papers and ephemera and little accent pieces and just layer them all up into a beautiful montage...

But I'm not doing that today! 

Instead, I'm sharing an idea with you that doesn't use a lot, but it does show that with just a few carefully chosen pieces combined with dies from your stash you can make something truly special - whether it's a gift for yourself or for someone else...


Not only is this beautiful (I made it for me so I admit I am truly biased) - it's practical, too.

This is where I will store my bits and pieces so that they don't get lost or torn.
(FYI - The pages are made from passport protector covers)!


Supplies Used...

Cherish The Memory


LemonCraft

House Of Roses 6x6 Paper Stack


Vintage Time A4 Scrapbooking Paper - Butterflies, Clocks & Roses


Badge Buttons


StudioLight

Industrial 2 Card Making & Scrapbooking Kit


*


Thanks so much for stopping by today...

Any questions, please do feel free to contact me!

*


Donna. x

Friday 17 August 2018

Penny Black, 3D Christmas Bell Tag/Ornament, Guest DT 2018...

I am humbled, honoured, beyond thrilled...  and absolutely gobsmacked to be able to tell you that I am on the Penny Black Guest Design Team for the next few months.


Here’s the first of my tag designs for the Penny Black 2018 Christmas release...  


This is a 3D Christmas bell made by simply folding and gluing three decorated bell shapes together.


I'll include a list of supplies used at the end of this post, but for now - 

Here's a quick 'how to' guide...


*


Cut out three bells  - plus their 'top parts'.

Carefully fold them in half, then glue one 'top part' to each of the bell shapes.

Use tree branch stamps to decorate each bell using embossing powders.

Heat set to dry.

*


For extra durability, cut out two additional bell shapes from scrap card.

Cut them in half, then cut off the top ends and trim the outer edge of the bell outline. 

Glue one piece to the back of each of the decorated bells - ensuring that whichever side you choose remains consistent for all three.

*


Add a small decorative bell to a piece of twine and knot into place.
 Then glue from the back - ensuring that the twine runs down the centre spine of one of the bells.

*


Cut, colour and assemble some foliage pieces, then add enamel dots.
Ensure you make enough for all three bells!

*


Glue all three bell parts together, add bows made from twine and some cord to the top...

and that's it!


You have your very own decorated bell.

*


Supplies used:


Penny Black/Dies

51-453      Christmassy
     51-465      Mitten Stocking


Penny Black/Stamps

       40-637      Winter Branches


Other:

Embossing Powder (Ranger) - White, Distress/Walnut Stain

Distress Markers - Peeled Paint, Forest Moss, Frayed Burlap


Twine, decorative bell and enamel dots from stash.


*


I do hope I've inspired you to have a go.


'Bye for now...


*

Donna. x

Friday 3 August 2018

Craft Consortium, Little Fawn and Friends, Standing Fawn

As promised, here's my third card that shows 'Little Fawn and Friends' - due to launch Wednesday, 2pm (GMT) on Create and Craft TV.

(Sky 683, Freeview 23, Virgin 748, Freesat 813, Apple TV, Amazon Fire)


I'm aware that I've only shown you two of the characters featured in this new release, but rest assured  -  Little Fawn has a few more friends to show you yet!


Thank you so much if you've popped by for a visit.


I truly hope you enjoy this new release just as much as I do...


*

Donna. x

Thursday 2 August 2018

Craft Consortium, Best of Friends, Mounted Tag on a Card...

Following on from yesterday's post I thought you might like to see one of Little Fawn's friends...


I've combined this new product range with a charm from the Winter Woodland collection.

I don't want to spoil the surprise of seeing the new charms...  you'll have to see that for yourself!


*


Don't forget, this new product launch goes live at 2pm on Wednesday, 8th August, 2018 - on Create and Craft.

(Sky 683, Freeview 23, Virgin 748, Freesat 813, Apple TV, Amazon Fire)


I've got one more post to share with you tomorrow.

It'll be a different style to the two you've already seen! 


*

Donna. x

Wednesday 1 August 2018

Craft Consortium, Little Fawn Says 'Hi'...

Meet 'Little Fawn and Friends'...  a new series of illustrations made by world renown illustrator and designer, Nina Śtajner...


These designs have been turned into craft items in partnership with Craft Consortium, who are bringing you not one, but two sets of beautiful clear stamps, a premium paper pad and a set of washi tape.

There's also a set of metal charms and enamel dots that all coordinate beautifully together. 


This new product line is not on the Craft Consortium website as yet.

Why?


Because its official launch will be on Create and Craft.
(Sky 683, Freeview 23, Virgin 748, Freesat 813, Apple TV, Amazon Fire)


When?


Wednesday, 8th August 2018.


Time yet to be confirmed, so please keep your eyes peeled on the Create and Craft TV channel listings.


I wouldn't want you to miss out!


*


Donna. x