Showing posts with label Gift Bag. Show all posts

Tuesday, 6 April 2021

Craft Consortium, Bluebells And Buttercups, Gift Bag With Matching Tag Set

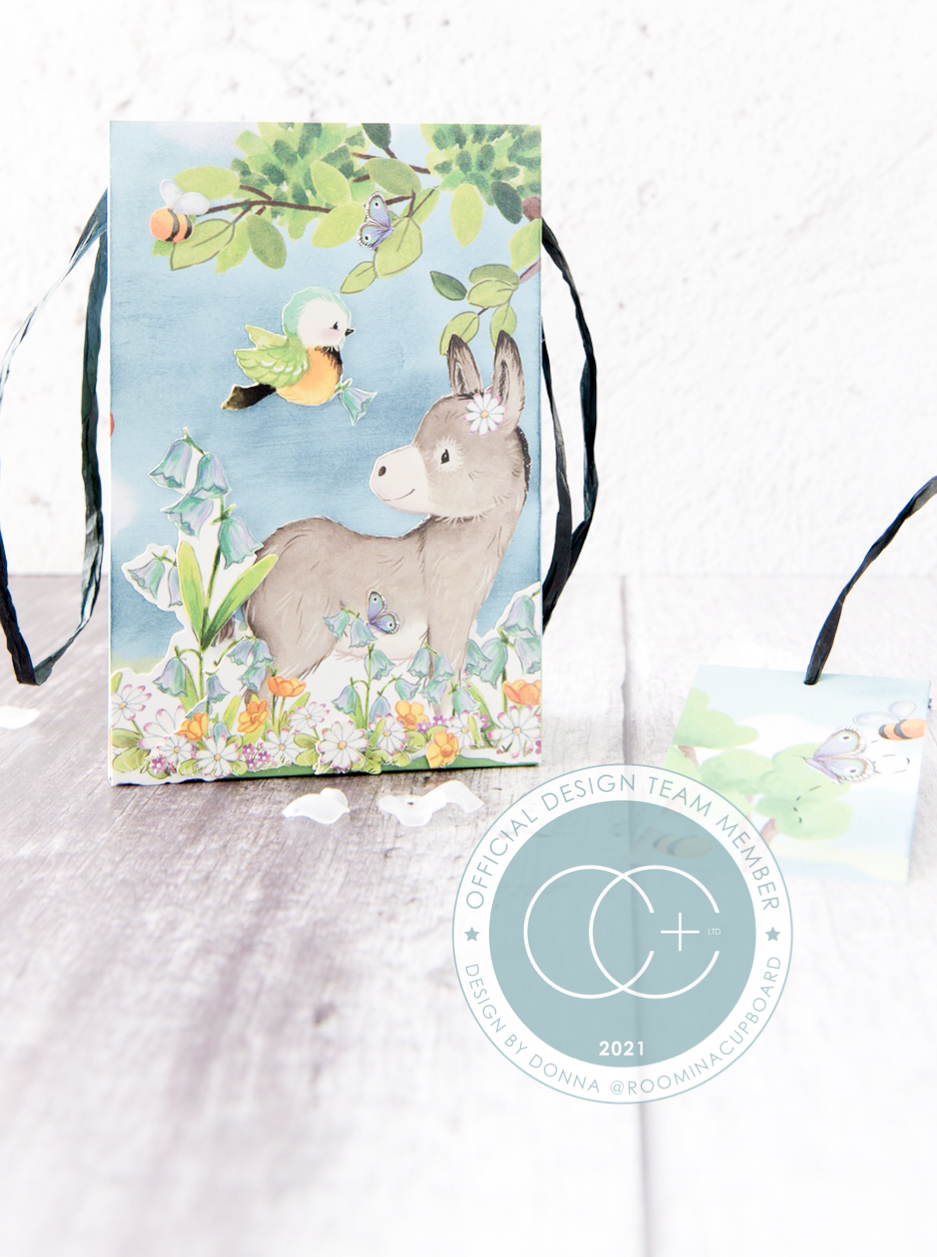
 I've taken just one 12x12 page from the new Bluebells And Buttercups collection to create this delightful little gift bag and matching tag set...


Here's just a quick peep at the decorative inside of the bag , which depicts cute picnic baskets filled with delicious cakes...


A side view shows how the Nature theme continues with a bird peeping out of its nest...


And the back shows a fun loving critter...


This was very easy to make.  Just add a touch of ink to the sky and a few well placed additional toppers...


*


I always appreciate you stopping by...


*


Donna

Thursday, 24 December 2020

Craft Consortium, The Nativity, Christmas Gift Bag

Just stopping by with a last minute (very quick and easy) Christmas gift bag idea...  for those of you that might need it!


Whatever you are doing this Christmas, stay warm...  stay safe!


Wishing you every good thing in 2021.


*


https://www.instagram.com/roominacupboard/

Donna.

Sunday, 3 May 2020

Craft Consortium, The Riverbank, Decorated Brown Paper Gift Bag

Thank you so much for stopping by today...  It's 6 months to the day (tomorrow) that I moved house and location.  I'm currently living in an unfinished house, but it's liveable and has heating, water and an almost finished kitchen...  which it didn't always as it was a major internal renovation project!

And would you believe I had this post ready to go a month ago yet the iMac had an update that night that completely destroyed it?  (Google it online - many iMac users had the same issue).  It was as dead as the proverbial Dodo!
My poor hubby refuses to do any more updates until the Apple store is back up and running as he had to fight for his rights to get it collected and fixed - even though he pays a monthly charge for that very privilege!


So I'm finally back (and yes, it really did take a month to get the iMac collected, fixed and returned)...  and I'm working on using some of my older Craft Consortium collections - at least for a while.  I have the most generous of hearts DT manager who very kindly kept my position open.  That's a privilege I don't take lightly, so many thanks once again Nigel Lennon.


With the (quite frankly) weird lives we are currently reduced to living in  I'm going back to a focus  on different  gift packaging ideas (mainly bags and boxes, but I'll throw in the odd handmade  paper gift idea too) as birthdays, etc will be carrying on regardless of this crazy world we are currently living in.  

The aim is to 'stay safe', so we'll make do as best we can...  

...  and that will be ok.


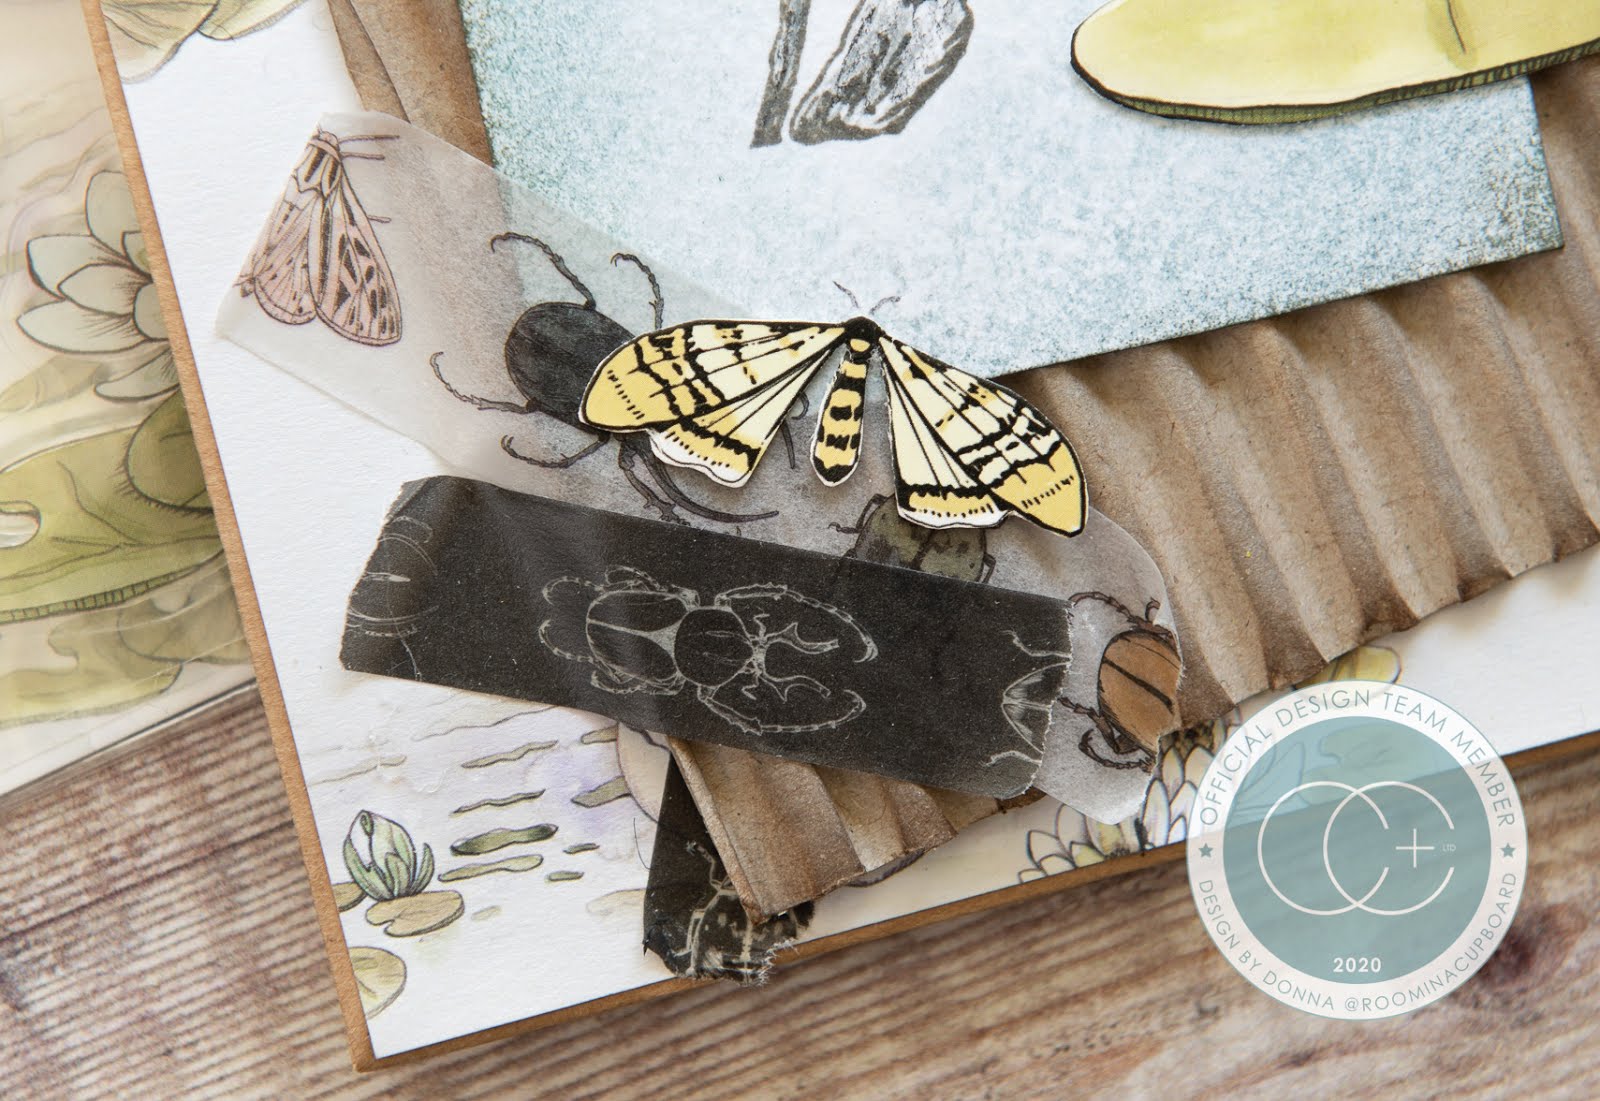
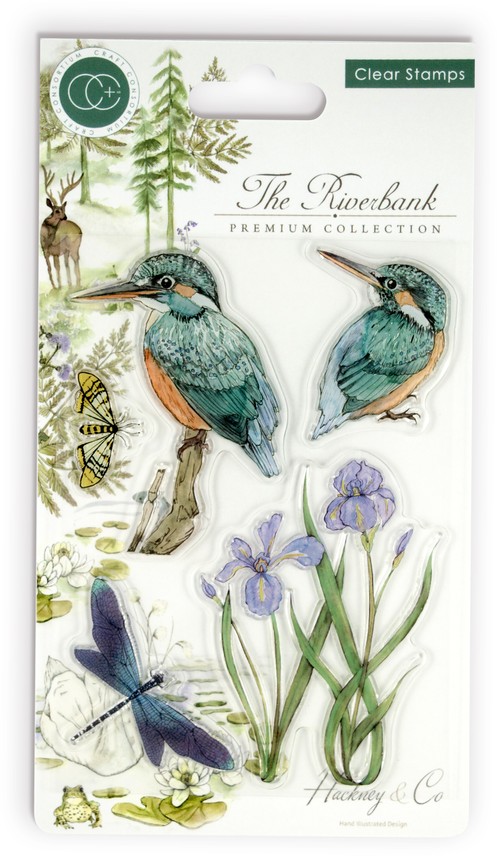
So with that in mind today's project features a brown paper gift bag, decorated in the main using products from The Riverbank collection.  


Washi Tapes are from The Emporium collection, attached with just a little extra spot of glue to stop them from potentially falling off!  (I don't know about you but I tend to find that it's best to air on the side of caution when building up layers)!


*

The Riverbank

£15.99


£4.99


*


The Emporium


£3.99


*


I hope life is treating you kindly right now in these testing times.

Thank you so much for stopping by today...


Stay Safe.


Donna. x

Monday, 1 April 2019

Craft Consortium, The Riverbank, Gift Packaging

A super quick post from me today!

Making bespoke gift packaging is so easy to do with The Riverbank Collection from
Craft Consortium.


Want to see?


These are obviously just a few examples!

But I hope it's enough to inspire you to have a go...


*


The Riverbank Collection


*


Enjoy your day...


*


Donna. x
https://www.instagram.com/roominacupboard/

Wednesday, 12 September 2018

Cherish The Memory, Winter Trails, Gift Bag

I love mixing and matching different elements in a quest to make something pretty.

Perhaps it's some kind of challenge I set for myself on a subliminal level...  I don't know.

But what I do know is that when it all comes together there is a sense of achievement.


Is this something you recognise in yourself, I wonder? 


Today's project uses scrap corrugated card that came as a protective layer on my photo boards, plus a plastic net bag that had mini cheese in it - how's that for the basis of a project?


But with a few sequins, die cut snowflakes, pom poms and scrap card left overs it is possible...  as long as you have some ephemera to tie it all together.


And what better than to use the beautiful backing papers, scrapbook papers, die cut books and various other beauties that Cherish The Memory sell?


Here's my mixed media/rustic project for today...


I did dry brush a layer of white gesso on to the bag before decorating it and I have used texture paste on the ephemera to give the illusion of snow - which obviously lends itself to a more muted effect in terms of colour.


*

StudioLight


*


There is so much more to these die cut block books than simply using them for cards.

What will you use them for, I wonder?


Thanks for stopping by...


Donna. x

Monday, 25 September 2017

Mini Gift Bag & Tag Set, Christmas, (Poppystamps) Holly Twig


Do you ever look through the gallery when you add your submission to a craft challenge?
I do...  and it never fails to amaze me how so many people can all come up with different ideas for the same theme.

So with that in mind, I wonder if you can correctly guess the challenge theme just by looking at my photo's...


'Christmas' or 'Use Holly' would be my guesses I think...  or perhaps 'Make A Christmas Project That Isn't A Card'...  or 'Use Ribbon' even...


But did anyone get it right, I wonder?


Poppystamps
PSC#36


It's not obvious at first glance is it?
But actually I think I've got quite a few dots on my project...  it's just that a fair few of them are 'oh so subtle' that they are easy to ignore.

Unlike my 'Enamel Dots' for the berries or that Polka Dot Ribbon!


As this was fairly straightforward to make I haven't included many photo's today, but here's a quick 'how to' guide showing some of the steps...


*


Using Iced Spruce and Hickory Smoke Distress Inks, decorate the front, back and side panels of a MFT Die-namics bag using the Memory Box 'Tiny Dots' stencil.

 Then add some lines front and back (using a scoreboard) before adding punch holes and a circle cut out.
(MFT Die-namics Stitched Circle STAX).


Cut out a piece of scrap acetate to size (big enough to cover over the circle yet small enough to comfortably fit inside the box.  Add Red Liner Tape 'round all the edges and attach to a piece of scrap plastic food netting.  (Mine's from Babybel Mini Cheese).
Glue this into place on the inside of the front panel and leave to dry thoroughly before assembling the bag.

To cover over the glue tabs showing on the inside back panel of the bag, cut out an additional front section only of the bag die from Matt Silver card stock and trim it down left, right, and bottom very slightly.   Don't forget to add the punch holes - not pictured!
And glue into place.


Using Peeled Paint, Forest Moss, Gathered Twigs and Walnut Stain Distress Inks, add colour to the Poppystamps Holly Twig.  I layered mine up three times for durability before adding
my Glitter Red Enamel Dots.

Once dry, glue into place on the front of the bag...
and add the Polka Dot Ribbon.


(As you can see, I went on to make a tiny complimentary gift tag using the same basic idea - minus the netting but still including the acetate.  This gift tag is also made by Poppystamps - 1845 'Heart Taglet').


*


Other Challenges I'm Entering...

NBUS Challenge #12
(First time using the Bag and the Holly Twig die).


Simon Says/Monday
Shimmer and Shine


So there you have it.

One tiny Christmas gift bag set.

Hope you like it.

Donna. x

Sunday, 27 November 2016

Christmas Tag Gift Bags, Drop Ornament, Kraft

I took a simple and straightforward approach to my tags for Day 19 of Tracey's 

...  And then I decided that there was something about them that didn't 'work' for me.

How did I solve this problem?
I turned them into tags for Kraft bags, of course...


Here's the tag I chose to use for my design inspiration...


Like I said, I took a very straightforward approach  :)


Supplies Used:

Dies:
Memory Box 'Drop Ornament'
Memory Box 'Telluride Snowflake'

Other:
Suede Cord
Glitter Buttons
Cream Twine


I never realised until making these that I have real issues with super shiny craft projects.
Looks like I learnt something new about myself!

Wherever you are, take care...

Donna. x

Wednesday, 28 September 2016

Ornamental Tag On A Bag, Christmas, Joy

Do you ever get weeks when you feel like you're chasing your tail and still not getting anywhere?
If so, I know exactly how you feel as craft wise, it's been a long hard slog this month!
Let's just say that more and more I'm beginning to realise the merits of CAS designs. 

...  Of course, this makes me think of dogs.  They have this thing about chasing their tails, don't they?


Anyhow...


I have a fairly simple offering to share with you today.  It's taken many detours and caused me many a headache...  until I eventually figured out that sometimes simple is best.


  It's been made specifically to play along with the latest Poppystamps challenge that's due to end today.

I've included a few close up shots so you can get a better look at the tag...


The challenge over at Poppystamps for this month has been to emboss, deboss or heat emboss.  I went with heat embossing and finally had my first playtime with my Stampendous Frantage Kit (which is what is covering the main body of my tag).  I basically chucked on a bit of everything so I'm quite pleased how the glitter particles have spread themselves out so nicely.  Not so pleased about that odd bit of whatever it is up in the top right corner, though.
At least it looks less out of place in reality.  Photo's can be very unforgiving, you know!


There's not too much to say about how this was put together.  As well as heat embossing the main body of the tag (and the clasp and peg) I've layered up the snowflakes at different heights, also added layers to the main body of the tag and clasp for extra durability, sprinkled on some glitter from the Frantage Kit for one of the smaller snowflakes and added on a sequin, gem and tiny pearl...  as well as adding the main snowflake embellishment to the centre of the whole thing, of course.
Then it was simply a case of making a quick bag from a sheet of ink splodged A4 watercolour paper, adding the JOY embellishment at the bottom, tying on some glittery twine...  et voila.
It's easy when you know how, isn't it?

...  And yes, I do know that technically the front of my tag is the back and vice versa.  But when's a little thing like that going to stop me?!


Supplies Used:

Dies:
Poppystamps 'Lavinia Snowflake Ornament'
Poppystamps 'Costello Ornament Background'
Memory Box 'Alphabet Tile Letters'

Punch Board:
We R Memory Keepers Gift Bag Punch Board

Embossing Powders:
Stampendous 'Frantage Encrusted Jewel Kit' - White
Ranger 'Liquid Platinum'

Other:
Crafter's Companion/Spectrum Noir 'AquaTint Inks - Perfectly Primary
Silver twine
Snowflake Embellishment
Sequin
Gem
Pearl
Raffia - White
Craft Peg


Challenges I'm Entering...

Powder Power


Gift It


Christmas In September


Challenge #31   'No Patterned Paper'


I'll be back later on today with another post...  and then again on Friday!

See you, then...  if you have the time, of course :)

Donna. x

Sunday, 25 October 2015

Gift Bag, Poppies, Female

I finally had a reason to get out and 'play' with one of my new toys recently.  I say 'play'...  but really it was all done in the name of research...  really it was!
After all, if I didn't get out my new We R Memory Keepers 'Gift Bag Punch Board' and trial out how it works, what would happen when I needed to use it in a hurry?  One giant sized mess most likely!!!

So...  Now that I've got my justification over and done with let me tell you why I chose to use the punchboard for this...


Well...  actually there are two reasons.  The first is I'm not a huge fan of black and white cards.  End of.  But I wanted to join in with the latest Memory Box challenge.
The second reason is I have a tab at the top of my blog for 'bags and boxes'...  but it's got nothing in it so far!  
So what better than to solve two problems with one solution?


Die used...
Memory Box 'Prim Poppy'

Stencil used...
Memory box 'Rings and Puddles'

Ink used...   
Brilliance 'Starlight Black'


I've used a black card with a soft sheen to it for the poppies, glued them on to a piece of acetate and then doubled up on some of the flower heads at a slight angle to soften the overall look.
(The added bonus is that the 'cut out' for the aperture window is perfect for a name tag.   Just fold in half, hole punch top corner and attach to bag.  Easy :) 


...  Speaking of added bonuses... 

Style notwithstanding, this colour scheme can work with more than just black and white if you cut a piece of coloured card stock to size and slot it in at the front of the acetate 'window' before putting your gift in the bag.  (It would be very easy to add a touch of glue to keep the panel in place if you needed to).  
Of course, you could just use white if all you want to do is block the gift in the bag from view.  
Just putting some other ideas 'out there' for you :)

As my acetate and black raffia are from my snippets collection, I get to go play in the playground!
(If that makes no sense to you then I suggest you click on the link below and spend some time reading through some posts...  and through the comments sections.  They can be quite funny from time to time)!


Wishing you the very best for the week ahead...

Donna. x