Showing posts with label Memory Box. Show all posts

Monday, 20 November 2017

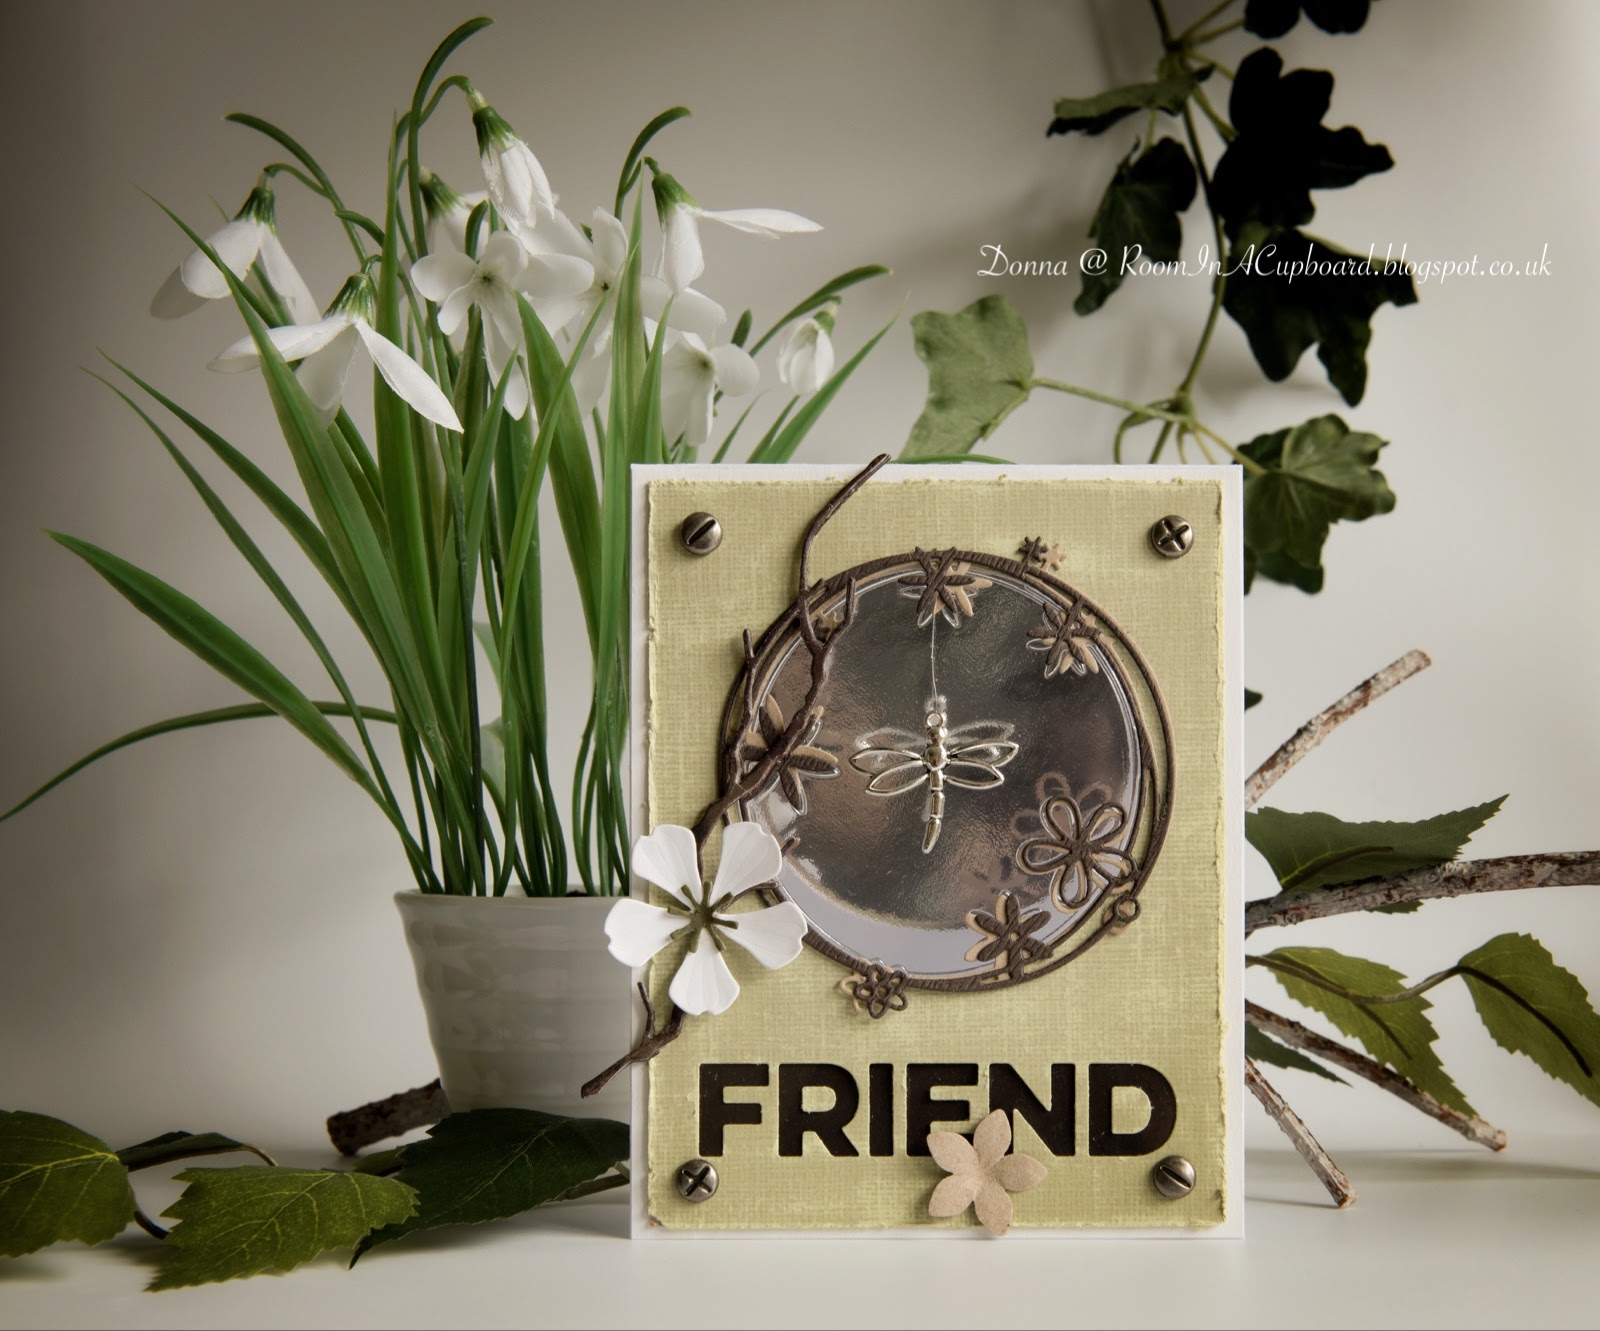
Decorative Poinsettia Trimming, Red Gingham, Christmas Tag

I've used nothing more than the colour scheme as my basis for today's tag - which (if you've been counting) is for Day 13 of Tracey's Christmas tag event.

I'm officially at the half way point!!!


Here's the inspiration tag...


As I had already used my cute little bunny stamp I decided to 'ring the changes' and embrace a colour palette I wouldn't normally use.


I'm still having a blast playing along with each and every single day.

Yes, it's a challenge to stretch myself...
...  but that's why I love it!


(And having a more organised craft area certainly helps, too)!


Happy Crafting!


Donna. x

Monday, 25 September 2017

Mini Gift Bag & Tag Set, Christmas, (Poppystamps) Holly Twig


Do you ever look through the gallery when you add your submission to a craft challenge?
I do...  and it never fails to amaze me how so many people can all come up with different ideas for the same theme.

So with that in mind, I wonder if you can correctly guess the challenge theme just by looking at my photo's...


'Christmas' or 'Use Holly' would be my guesses I think...  or perhaps 'Make A Christmas Project That Isn't A Card'...  or 'Use Ribbon' even...


But did anyone get it right, I wonder?


Poppystamps
PSC#36


It's not obvious at first glance is it?
But actually I think I've got quite a few dots on my project...  it's just that a fair few of them are 'oh so subtle' that they are easy to ignore.

Unlike my 'Enamel Dots' for the berries or that Polka Dot Ribbon!


As this was fairly straightforward to make I haven't included many photo's today, but here's a quick 'how to' guide showing some of the steps...


*


Using Iced Spruce and Hickory Smoke Distress Inks, decorate the front, back and side panels of a MFT Die-namics bag using the Memory Box 'Tiny Dots' stencil.

 Then add some lines front and back (using a scoreboard) before adding punch holes and a circle cut out.
(MFT Die-namics Stitched Circle STAX).


Cut out a piece of scrap acetate to size (big enough to cover over the circle yet small enough to comfortably fit inside the box.  Add Red Liner Tape 'round all the edges and attach to a piece of scrap plastic food netting.  (Mine's from Babybel Mini Cheese).
Glue this into place on the inside of the front panel and leave to dry thoroughly before assembling the bag.

To cover over the glue tabs showing on the inside back panel of the bag, cut out an additional front section only of the bag die from Matt Silver card stock and trim it down left, right, and bottom very slightly.   Don't forget to add the punch holes - not pictured!
And glue into place.


Using Peeled Paint, Forest Moss, Gathered Twigs and Walnut Stain Distress Inks, add colour to the Poppystamps Holly Twig.  I layered mine up three times for durability before adding
my Glitter Red Enamel Dots.

Once dry, glue into place on the front of the bag...
and add the Polka Dot Ribbon.


(As you can see, I went on to make a tiny complimentary gift tag using the same basic idea - minus the netting but still including the acetate.  This gift tag is also made by Poppystamps - 1845 'Heart Taglet').


*


Other Challenges I'm Entering...

NBUS Challenge #12
(First time using the Bag and the Holly Twig die).


Simon Says/Monday
Shimmer and Shine


So there you have it.

One tiny Christmas gift bag set.

Hope you like it.

Donna. x

Friday, 15 September 2017

Christmas Tag, Noel, Partial Snowflake

Tag You're It is back!!!

And what better way for me to say hello to you all on behalf of my very lovely team mates than to remind you that (like it or not) Christmas is coming...

Did I hear groans or 'whoops' coming from you, I wonder?

I have a very glittery tag to show you today...


...  and it's based this week on inspiration from the very lovely Tracey McNeely.


Now isn't that inky loveliness if ever there was any?


You may be wondering just how on earth my design came from this, but in reality that's an easy one to answer...


You see, Tracey's choice of stamp reminded me of a snowflake as soon as I saw it - and I had the perfect intricate die in mind.
So I turned things on their heads a little by pairing it with a tag that's not a tag, made the main focus  white by hiding similar colours to Tracey's tag underneath my main design and I made a feature of the sentiment, too.
Yet for all of that I've still got an equal amount of lovely 'white' space - even with two sequins that may have worked their way in somehow!


So how did I make my tag?


Let me tell you the supplies I used first...


*


Supplies Used:

Dies:
Penny Black - 'A Pocket Full'
Memory Box - 'Dazzling Snowflake'
Sizzix/Holtz Thinlits - 'Vintage Tidings'


Holtz/Distress Inks:
Hickory Smoke
Seedless Preserves
Dusty Concord

Other:
Sequins
Cord
Glitter Card - Black
Crafter's Companion/Spray & Sparkle Glitter Varnish - Silver


*


Take two scraps of card that are big enough to cut the notepaper die from and run them separately through your die cutting machine.

On one, ink up randomly and quite lightly with Hickory Smoke.
Add some water droplets (I just use wet hands and shake or clap them over the top), dab up the water with a paper towel and leave to dry.  Add more ink if desired and more water droplets until happy with the overall effect.
Then, once dry, place the snowflake die so that it's centre is fairly close to the edge and it's top is peeking out a little over the top edge of the tag.  Tape into place with slightly tacky tape (to prevent paper tearing on removal) and run through your die cut machine.
Then spray with Silver Glitter Varnish.

On the other, add random blobs of Seedless Preserves and Dusty Concord.

Glue the two tag shapes together.
(You will notice that I took the decision to turn one of my tag shapes back to front before applying ink so that the two don't quite marry up at the top.  It's a personal preference thing as I wanted a slightly more distressed look.  I also removed a small section at the top to let the colour underneath show through a little more).

Cut out the sentiment die three times and glue them all together.
Then once dry, glue into place...

Add a hole in the corner for the cord...

And add two sequins.


So there you have it.
A tag that isn't a tag...  that is a tag.

And why not?


*


I hope you have the time to come and join us.
We've gone back to our old format - so don't forget to check in on the main challenge page to see the closing date!


'Bye for now...

Donna. x

Tuesday, 25 July 2017

Pine Cone Collage Picture Frame, Enchanted Deer, Christmas

I've used my all time favourite die from last year's (2016) Memory Box September release and paired it with one of this years Holiday release dies to create something just a little bit different...   a 'Picture Frame' - complete with attached easel.

Here's a few photo's so you get an idea of the depth created just by layering up a few die cuts between thin frames...


I did consider making this as a Diorama card, but opted for durability over any other consideration in the end.  Plus what's the point in buying an Easel die if I'm not going to get lots of use out of it? 
 Have stash.  Use stash.  
Doesn't that give us "Crafter's" some Brownie Points somewhere along the way?!!

Anyhow...

You want to know how it was made?

I'll mix things up a bit from my usual format and give you the list of supplies used first.


Supplies Used:

Dies:
Memory Box 'Enchanted Deer' Collage
Memory Box 'Pinecone Collage'
Mama Elephant 'Peek A Frame' Creative Cuts
Sizzix/Bigz 'Small Easel'

Holtz/Distress Ink:
Ground Expresso
Walnut Stain
Hickory Smoke
Pumice Stone

Embossing Folders:
Darice 'Tattered Page'
Sizzix/Texture Fades 'Birch Trees'

Other:
Recycled acetate (from craft packaging)
Pebeo Gilding Wax - Silver
Crafter's Companion 'Spray and Sparkle' - Pearl Diamond


First of all, I inked up two pieces of card stock with the brown shades of ink.  (I already had a 'mock' cut out of the Enchanted Deer Collage die so used that to help gauge where I wanted more/less ink to go).

Once happy with them, cut just the one Enchanted Deer to size - not both.  These die 'cut outs' need to match up exactly so get the one sorted (using your embossing folder for dimensions) before getting the other one to size.

Leave to one side, and using the Pinecone Collage die with another piece of card, cut out either a random pattern that you like or one like mine where there are no 'free floating' branches to be seen.

Then ink up yet another piece of card using the grey shades of ink.

With me so far..?

Now leave all of that to one side for a minute and make the frames that will be used to sandwich the layers together. 
 I used the biggest two dies from the Mama Elephant 'Peek A Frame' set to make two frames - and I doubled up the layers (which means cut out four - not two).  The main thing here is that the frames made are the same size as the Enchanted Deer 'cut outs' - and that they aren't too thick.  Even with mine I had to trim off a tiny piece that was peeking through into the 'picture'.

Whilst the glue on the frames dries, emboss one of the Enchanted Deer die cuts using the 'Tattered Page' Embossing Folder and emboss the Pinecone Collage 'cut out' piece using the 'Birch Trees' Embossing Folder. 

If everything hasn't been cut to the same size, do that now.

Then cut out a piece of card thick enough to be your base.  My easel has also been cut out from the same cardboard so the colours match.  (The thicker, the better.  I used some recycled 'grey board' used as packaging that came with some of my craft goodies.  Wish I knew how to get hold of this stuff commercially as my store of it is limited).

Now it's sandwich making time...

Glue the grey inked piece to the card base.

Then glue on one of the frames.

Now add the Pinecone Collage Cut out, gluing that just to the frame - nowhere else.

Now comes a tricky part...

Hold your two Enchanted Deer Collage 'cut outs' together - both facing the right way up and the embossed one on the top. Turn both upside down whilst still being held as one piece so that glue is on the underside of the bottom layer only.  Now turn both back the right way up - whilst still holding them together.  
(The trick here is to hold on to this die cut 'sandwich' in such a way that the two 'die cuts' look as one.  Once you've got that sorted, match up the edges of the 'sandwich' with the parts already glued into place).  
Press firmly 'round the edges and then put that top, unglued die cut to one side for a minute.

Add that second frame and glue into place - being sure that you won't be able to see any of it once that final 'die cut' is on the top.

Now I made a choice at this stage to add my acetate to the back of the Enchanted Deer Collage 'die cut' before spraying on the glitter.  It gives the grey of the pinecones a softer look - not that dissimilar to when you add vellum over bright, bold colours to tone them down.
So either do as I did and add the acetate before spraying or spray now, leave to dry and then add that acetate layer. 
 But either way, add a smidge of gilding wax along the edges first - where the 'Tattered Pages' are showing.  It just adds that 'someting extra'...

Once it's all been sandwiched together I suggest you put it under some weight for a while - and add the easel into place on the back at some point after it's all had plenty of time to dry.

Then, once completely dry, add some very thin Kraft card slivers to the sides of this frame to cover over the sandwiched layered edges and make it more 'frame like' in appearance.  

Finished...

...  and the perfect thing to add to my craft stall for Christmas...


This was made to play along with the latest Memory Box Challenge.

Challenge #26


I play here often as I love their dies!


Other Challenges I'm Entering...

You've Got The Edge


Christmas In July


Thanks so much for stopping by today...

Donna. x

Tuesday, 11 July 2017

Butterfly Tag Card, Garden Theme, Friend

I made this 'tag' card a while ago but just haven't got 'round to posting it until today.
The inspiration for it came from a photo set up I used when posting this tag part alone on a recent blog post for a past Tag You're It challenge/my DT take on the Featured Artist.

It's a 'busy' card...  


(Apologies for the slight blur on this photo.  It's a real close up shot - but I wanted you to see the texture from sanding down a piece of Core'dinations card stock).


I seem to be in a habit of making busy cards right now - and I don't honestly know how I feel about that.  
Do people like busy cards (generally speaking) or is it a bit like a pizza with too many toppings?

But at least I've been sticking with my nature theme.  

Speaking of which...

Have you had any 'fluff puffs' in your garden?

Now you may be wondering just what a 'fluff puff' is.
Well...  they are fluffy and they're puffy and they sort of 'flitter' their wings in such a cute little way right before being fed.
And 'fluff puff' just suits them so much better than 'fledgling' when they are at their cute stage.

What am I talking about?
Baby sparrows.
Apparently in decline...   unless you come to our garden.  
Then you'll see staged feeding frenzies of activity, group dust bath sessions...
A sight of pure cuteness.

I'm sorry to say that one fledgling got misplaced by it's dad for a whole 10 minutes on the first brood of this season.
How do I know?
Because I heard it calling out for the entire duration - and then looked out of the window to watch it.  If you've heard a sparrow calling at feeding time you'll recognise the sound as it's a single, solitary (fairly high pitched) 'cheep' noise that's as long as the silence in between the 'cheeps'.  
(If I had to hazard a guess I would say a second per 'cheep')?
The poor little darling kept hopping around on the ground  - and at one point it made its way over to two slightly older girls...  and opened its beak in readiness for food as they moved a little closer - to fly off!
10 minutes must have seemed like a very long time...  and it didn't once stop calling out until found!

...  And we're on brood three right now by the looks of things.

But I digress...


So what did I use to make this card?


Supplies Used:

Dies:
MFT/Die-namics Tag Builder - Blueprints 4
Taylored Expressions 'Beauty Lies Within'
Memory Box 'Blissful Butterfly Border'
Memory Box 'Tall Grassy Stems Left Corner'
Papertrey Ink 'Wet Paint Cuts'

Martha Stewart Punches:
 'Pop Up' Butterfly Border
Cherry Blossom Trim

Memory Box Stencils:
Delphinium
Stems

Holtz/Distress Ink:
Dusty Concord
Seedless Preserves
Milled Lavender
Victorian Velvet
Bundled Sage
Forest Moss
Mowed Lawn
Walnut Stain

Other:
Stamp from stash
Twine - Natural
Ribbon
Glitter Card Stock
Distressing Tool
Sand Paper


Challenges I'm Entering...

(All scraps except the green tag base).


'Distress It'
(Sanded Core'dinations Card Stock + Partially/Slightly Distressed Edges)


(Challenge #76  -  Layers)


'Anything Goes'


I'm still in catch up mode right now, but I'm getting there.
Thank you so much for your kind words of support...

Donna. x

Wednesday, 28 June 2017

Distress Crayon Card, Rainbow of Colour, Thanks

There's a Poppystamps challenge that's almost at its end, but I've managed to make 'something' for it.  I say 'something' as at home I refer to this as my 'Crayola card made by a three year old'...
Crayola's not just a UK brand, right?
  
Take a look at you'll see what I mean...


It's kind of hideous...  but it kind of works (I think/hope)!

I don't embrace lots of colour so I'm never going to say anything too wonderful about this design - but at least I chucked in lots of white (or similar) where I could. 

And no...   I didn't really use Crayola Crayons.

Distress Crayons - use a light coat of Distress Collage Medium - Matt (or similar) to cover the card base first.  Helps the crayons to blend when smooshing colours.
But do use a dry baby wipe to smoosh/blend colours or your finger will start to get very warm!

And yes, as you can tell I went for a smooshing/scribbled look.
But then I don't do 'neat'...  it kind of freaks me out.

So I've smooshed and I've scribbled.
And I've embossed onto vellum, recycled an old purse only fit for the bin, made a tiny box frame that yes, I did purposefully choose not to stick together too neatly...
and I've done some 'selective' distressed edges.
Because I can and I like them.
And no distressed edges was too neat and all distressed edges would have been too much.
Perfect logic...

I've also messed around with layers - that 'thanks' has six or seven and the centre of the daisy in the frame has even more.  Seem to remember it being in the 'teens' somewhere  (didn't want to use sticky pads as used those under the frame).
There are also a few layers on the butterfly, the cream 'purse' flower centre and that rectangle underneath the vellum has a few, too.

I like messing with layers as it adds something depth wise...  but apparently camera's aren't so keen  - hence the blurriness in some places.
It's also very time consuming and no fun at all.

But at least it kept me busy for a while...


Supplies Used:

Holtz/Distress Crayons:
Festive Berries
Spiced Marmalade
Mustard Seed
Twisted Citron
Peacock Feathers
Mermaid Lagoon
Seedless Preserves

Dies:
Sizzix Originals 'Shaker Box' - Square w/Window
Poppystamps 'Ragged Daisy'
Poppystamps 'Viola Leaves'
Memory Box 'Peaceful Butterfly Wings'
Memory Box 'Blissful Butterfly Border'
Memory Box 'Tall Birch'
Papertrey Ink 'Wet Paint Cuts'
Spellbinders 'Nestabilities' Rectangle
MFT 'Rectangle Peek-a-boo Window (Die-namics)

Ink:
Holtz/Distress - Walnut Stain
Tsukineko/Memento - Tuxedo Black

Other:
Stencil - The Crafter's Workshop 'Art Is'
Holtz Distress Collage Medium
Embossing Powder - Clear
Embossing Folder - Cuttlebug 'Butterflies 3x3 Tag Team Combo'


Challenges I'm Entering...

PSC #33     'Rainbow Wishes'

An entire card full of snippets 


So this card won't win any prizes and may in fact be more awful than I realise, but that's ok as it gave me time to experiment with four 'new to me' items - most of which I've had for a while now.
(I have been told on more than one occasion that I'm too hard on myself...   but as that will never, ever change we may as well all accept the fact that if I post something and think it 'sucks' - even if only a little bit - I'm just going to go right on ahead and tell you).   

*

For those of you that know me...
Life's a struggle right now and I just hurt - a lot.
So yes, I've been missing...  and yes, I'm not ok.
But I'm better than I was.
I just need a little more time., then I'll face catching up with you all - which I will, so don't bother telling me not to. x
I'm just not up to pretending right now.
But I have missed you...
and I thank those of you that know me well enough to know already that me disappearing = me going through rough times.
And you who knows but gets in touch anyway because she's worried (you know who you are) - thank you, too.
You are all far more of a blessing than you realise.

And for those of you who don't know me and have no clue as to what I'm going on about...
Let's just say that life can be very unfair and I'll leave it at that.
After all, we can all relate to that at some level or other.


And so as not to completely depress you all...
Think of something you like to do that makes you happy - and then (as long as it's safe for you/others and it's not illegal) go make time and do it this week if you can.  

Thanks for stopping by today...

Donna. x
Sunday, 28 May 2017

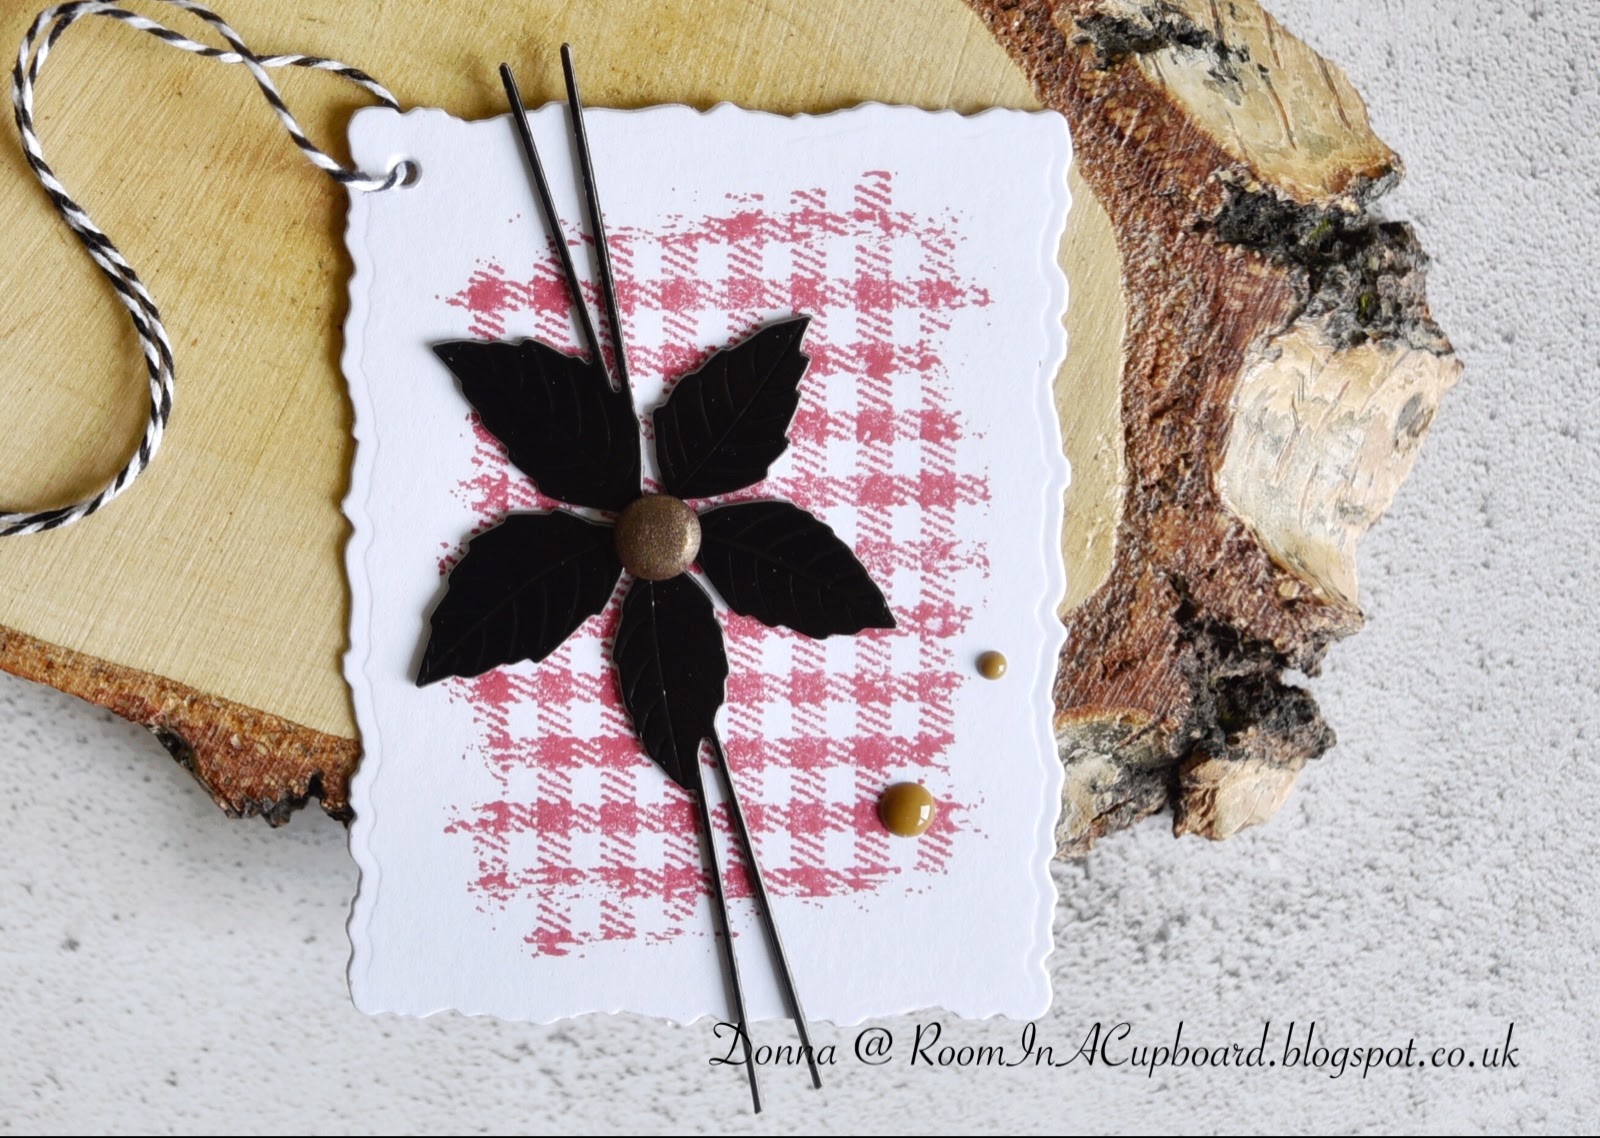
Dragonfly Charm Card, Scribble Flower Circle, Friend

I haven't made a card like this for a while now...  


It reminds me of the stuff I started out making - not sure if that's a good or a bad thing really, but it does include lots of my favourites...
Dies, acetate, Mirri card, screw brads, dangling things hanging from invisible thread, sanding and distressed edges...  I could go on but I'm sure you get the idea!

The main difference with this card is that I've since discovered Spray Adhesive - which means no more trying to marry up dies on the back of the acetate as the spray adhesive leaves behind a shimmer that looks good enough to leave well alone.

Here's a picture of the card lying flat... 


I did spend an age describing in detail how this card was made, but for some reason or other the blog went on the fritz and everything froze - so l've lost over an hours worth of work today. 
So I'm sorry, but I can't type all of that up again...  not with sore hands/wrists that still need time to heal.
Wonder if it's just the joys of old age?


Supplies Used:

Dies:
MFT 'Friend'
Poppystamps 'Scribble Flower Circle'
Memory Box 'Fabulous Phlox'
Memory Box Woodland Branch'
Spellbinders 'Nestabilities' - Circles

Punch:
Flower Punch from stash

Other:
Dragonfly Charm
Screw Brads
Acetate
Invisible Thread


Challenges I'm Entering...

Challenge #32   'Flower Power'

All snippets except the Core'dinations...


As always, thank you so much for stopping by today...

Donna. x

Saturday, 8 April 2017

Branch Of Grace (Penny Black), Photo Album Style Card, Imagine

I'm trying out an idea today...

You see, I've decided that I love quite a few of the Penny Black flower stamp sets that are around - which means that I've got to try and find a way to make them 'work' for me.

By 'work', I mean I'm trying to fit them into a style that's all of my own...  which is very, very, very hard when you see just how many talented people out there in blogland have already posted such amazing versions/designs and layouts of the stamps I like.

It's also hard because I quite genuinely admire their design flair and the way they've paired things up.

So it's a challenge...  and one I'll be working on this year as, as much as I love my dies I want to broaden my horizons a little.

So I'm posting this one a little apprehensively.  It's a style of card I've also never tried out before.  And if this style has a name, I haven't a clue what it is!

So here goes...


The main issue I had with this is that I wanted something that wouldn't detract from the stamped branch (which I really love, by the way), yet I didn't want it to look too bare and 'unfinished' either.
And I have to confess, I only added the strip going from left to right as I was writing this post up.


You know when you're working on a design and you just know that it's not quite right but can't seem to put your finger on it?
Do you?
Please tell me that happens to you, too?
Pretty please?

Let's just say that I'm glad the 'penny finally dropped' (I think it quite genuinely got stuck!) as now the design looks better than it did.

 I've realised that I don't really have an awful lot of self confidence when it comes to trying out new ideas, but I am very blessed and oh so very, very talented when it comes to being critical of my craft 'work'.
(Hands up if you can relate to that.  And if you can't I'm genuinely quite jealous).


But before I give a quick 'how to' of how this card was made, let me fill you in on March - where very little happened craft wise...


You see, Husband has this thing where he brings home the germs from work and gives them to me to make me sick.
(He likes to share, you see)...

So He caught a cold at work (where they were all snotty and sneezing) and then passed it on to me.
(Both of our colds lasted for about a week.  On my worst day I had to eat with sunglasses on as my eyes were streaming and couldn't tolerate light.  I also slept with my Winter hat and scarf on for most of that week)!
Then I get better for a day or two before He has to work through the weekend (on top of his usual working week) for a show at the NEC  (a work exhibition four day extravaganza where you're not even allowed to sit down) - which meant extra house chores for me as He was coming home later than normal - and He was understandably very tired.
Then He gets sick again within a day of the show finishing  (He actually came home from work early)...  and this time I'm on Nurse Duty as He's confined to the bedroom (my attempt to quarantine Him).
And just as He's well enough to come out of quarantine (He had to go a full day of NO sneezing at all - which took five or six days,) who got ill again?
Yep.  Little Old Me...  For another week!

So barely any craft time...  but plenty of time to craft shop online.

That's the price He pays for making me sick!!!

And then two days later the boiler broke.  And it's still broken to date.  And the house is so cold with no heating.
And I don't do 'being cold'...


So that's why I've been so quiet - even for me.


Oh yes.  There's just one other thing (and I know I've mentioned it before) but maybe I should mention it every time - I don't know?!!

You're not looking at a black card base.
It's a very, very dark shade of brown that I just love to use, but I know that a lot of you perceive this as black on your monitor screens and I often forget to say as I know what colour it is!

...  And more one thing...

If this design is 'pants' please be gentle with me when you tell me.  But please tell me.
I'm having a rough year and although things are getting easier in some ways they really aren't in others.
Sometime's it's just too hard...


Supplies Used:

Stamp:
Penny Black 'Branch of Grace'

Dies:
MFT Die-namics 'Flutter of Butterflies' - Lace
MFT Die-namics 'Photo Corners'
Memory Box 'Sketchbook Imagine'

Punch:
Martha Stewart Pop Up Butterfly Border

Memento Inks:
Gray Flannel
Rose Bud

Holtz/Distress Inks:
Tumbled Glass
Broken China
Seedless Preserves

Embossing Folder:
Crafter's Companion/Textures 'Wood Grain'

Other:
Ranger Perfect Medium
Wow Clear Embossing Powder
Pebeo Gilding Wax - Silver


Challenges I'm Entering...

Pixie's Crafty Snippets Workshop
(All snippets except the base card).


(Foliage and Flowers)


Penny Black and More Challenge
(April Challenge - Spring)


(Spring or Easter)
(Anything Goes)


NBUS 
(Challenge #11)


(Challenge #132  -  Spring)


(Challenge #345  -  Flowers)


I've also moved my photo set up today as it just wasn't getting enough natural light.
I now have room for two light sources (if needed), as well as a 'rig' for bouncing a silver/gold sheet off.
It's not a professional set up, but 'make shift' works for me...
and with the expense of a new boiler I have to be a good girl for a while!

Enjoy the sunshine if you're lucky enough to have any today...

Donna. x