Have you seen the Flocking Powder that Craft Consortium sell?
My project for today focuses on whether or not Flocking Powder can be used as snow in a shaker - and the answer (to cut to the chase of it) is 'yes' and 'no'...
Confused?
Let me explain...
Yes, it does work.
It's light and fluffy and white and it produces a lovely snowy effect - but because it's so light and fluffy it tends to stick rather than 'free fall'.
The solution is very simple.
Mix in something coarser like glitter or small sequins from your stash...
and you've got the best of both worlds!
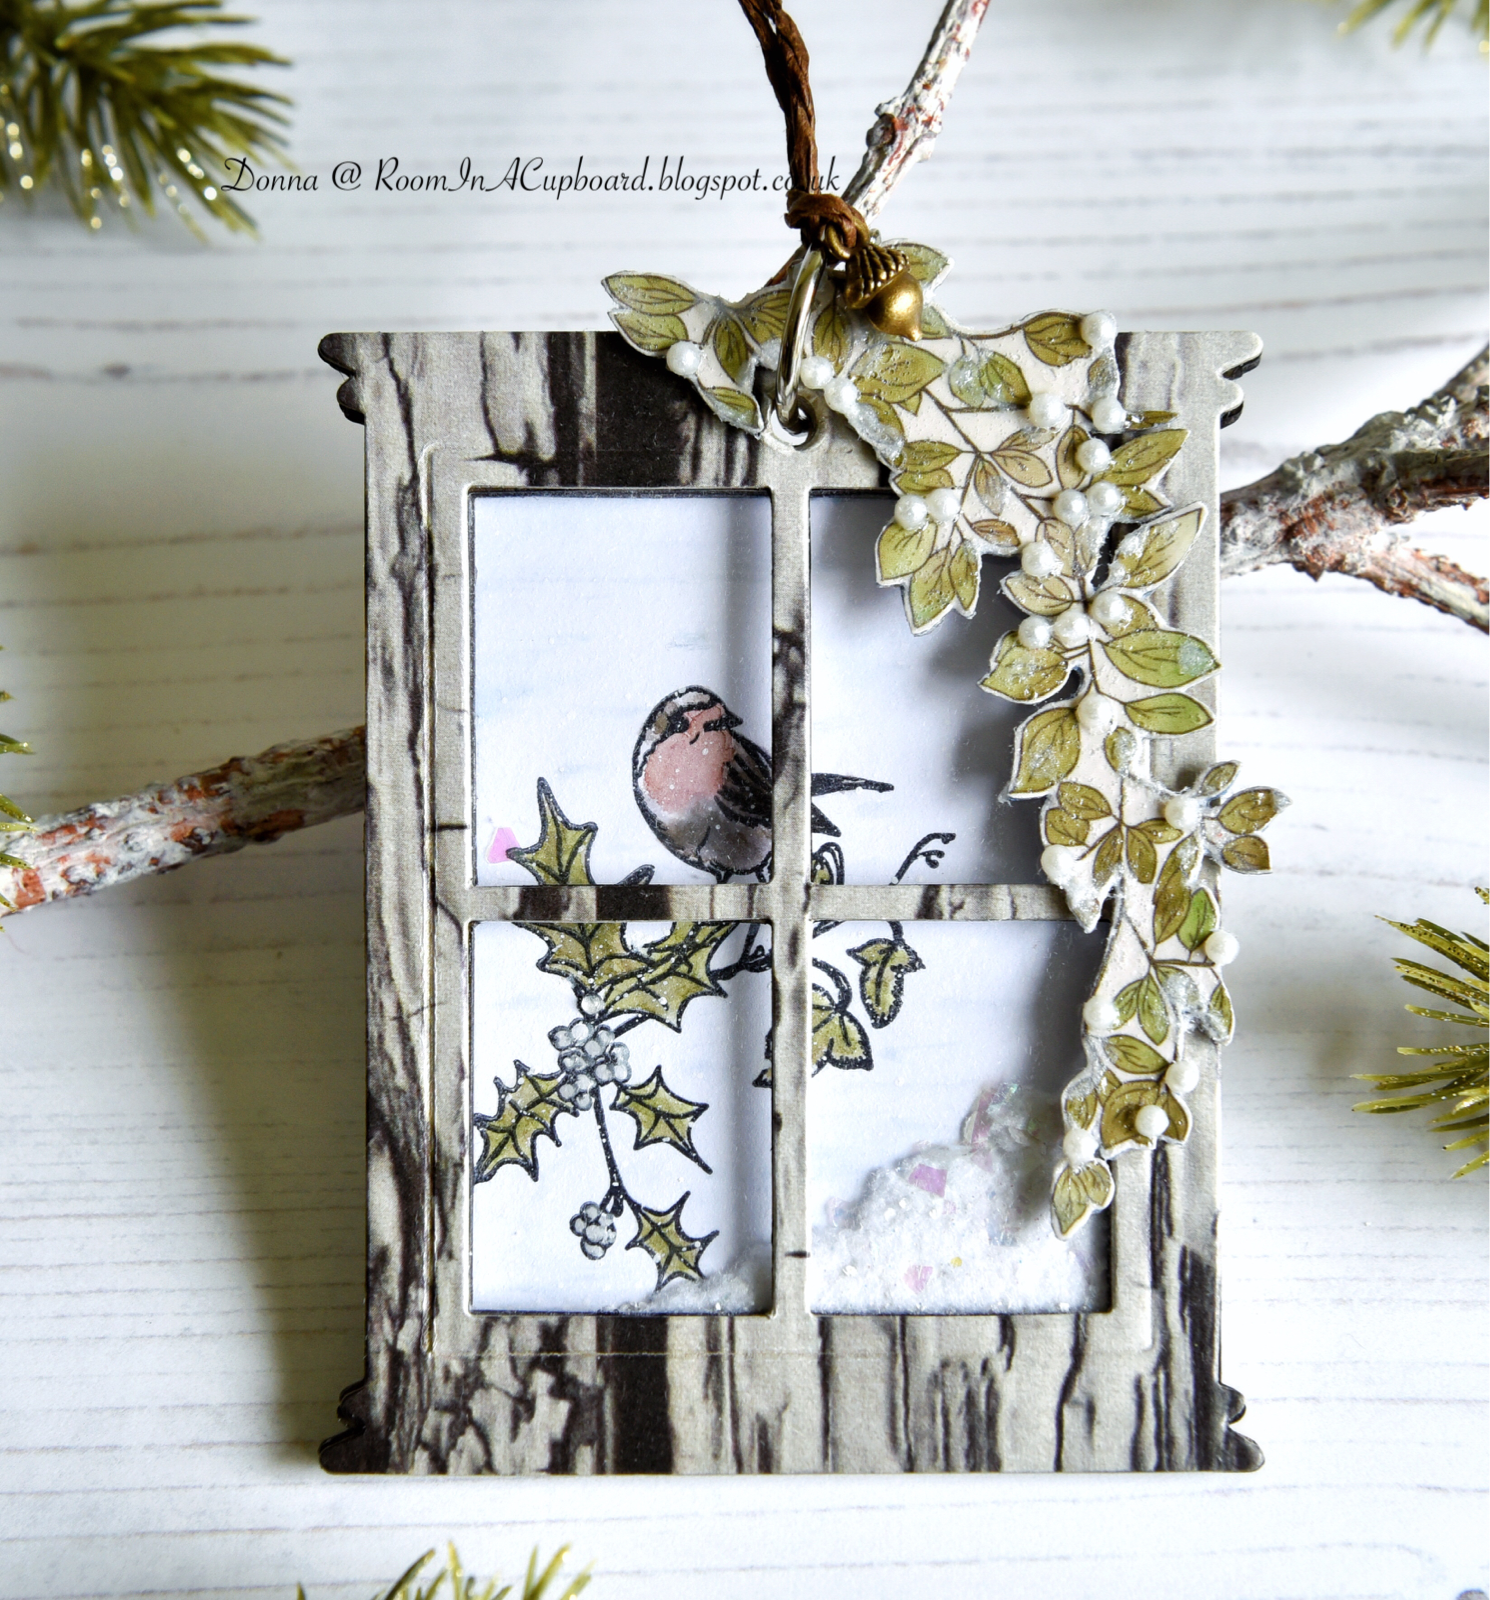
I just love the fact that the Flocking Powder adds a more natural look to the 'snow'.
What do you think?
Here's a breakdown of how this was made...
*

You'll need two of these -
both covered in Decoupage paper using spray adhesive as the glue.
Take the windows out of the one and add a layer of acetate to the reverse side -
using red liner tape to attach.
(Don't forget to add the hanging holes - not pictured here)!
Keep the windows in the other and leave to one side for now.

You'll need four of these.
Cut out and disregard all of the inner frameworks as shown, then ink around all edges of each frame (inside and out) in a colour that suits your Decoupage papers.
(Important - Add the hanging holes NOW before doing this next step)!
Glue one to the back of the Decoupage acetate window piece...
and the other three glue to each other to form a thick 'sandwich'.

You'll need just one of these!
I prefer to stamp out the image before cutting the card to size.
(I've used watercolour card and distress inks, then added some Glossy Accents to the berries and a very light splattering of white paint as 'snow').
Once this is dry and cut to size, simply attach to the back Decoupaged window piece of card.
Then add the sandwiched Window into place, followed by your Flock Powder mix, followed by your front acetate Window.
Add some weight on top (I generally use my cutting plates stack or some old stamp blocks) and leave to dry.
As for the topper?
That's from the packaging of the paper pad, fussy cut and layered up before adding lots of pearls and just a hint of... you guessed it!
Flocking Powder.
I've sprayed my topper (from the paper pad inner front cover) with a few coats of varnish and left it to dry before gluing it into place.
One Split Ring (from my own personal stash), some Twine and an Acorn Charm were all that was needed to finish...
*
Craft Consortium supplies used:
Winter Woodland
Always & Forever
Adhesive Pearls - 3mm
Decoupage Paper
This particular design is no longer in stock... but they have plenty more to choose from!
Other supplies used:
Distress Ink
Peeled Paint
Broken China
Stormy Sky
Fired Brick
Festive Berries
Forest Moss
Twisted Citron
Ground Expresso
Frayed Burlap
Walnut Stain
Hickory Smoke
Distress Paint
Picket Fence
Frantage
Shaved Ice
Crystal
Stampin' Up
Chalk Marker
Ranger
Glossy Accents
*
So there you have it.
That's one more Decoupage paper project done and dusted...
but I have plans for more!
Stay warm...
Donna. x
What a beautiful little scene my friend and another great step-by-step! LOVE it! Have a great week! Love & Hugs. Hazel xx
ReplyDeleteMy Card Attic
Thank you so much, Hazel.
DeleteYou have a good week, too! 😊
Wonderful step by step tut Donna, love this beautiful window tag, gorgeous robin.
ReplyDeleteHugs Pam x
As always... thank you.
Delete😊
This is amazing - I love it! Jo x
ReplyDeleteAwww... thank you.
DeleteI've certainly been having a blast playing with this new Winter Woodland set... and I love using decoupage papers for paper craft. x